Welcome to the next installment of a weekly segment where we dive into one Elder Scrolls Online’s many Sets, and explore what sort of Builds you can make. Not only will we show you how to get the most from these Sets, but we’ll explain where to get them, what requirements there are to obtain them (if any), and everything else you could possibly want to know about them. This week’s Set is a Light Armor Set that was added with the recent Clockwork City expansion this past month: Mad Tinkerer.

An Introduction to This Set
Mad Tinkerer was introduced with the addition of the Clockwork City DLC (Update 16) in October/November of 2017. This Set can currently be acquired by defeating World and Delve Bosses, looting Treasure Chests and completing Quests in the Clockwork City region. This zone requires the purchase of the DLC or a ESO Plus membership. This Set is bind-on-equip, so it is also possible to purchase it from Guild Vendors or trade with other players who have pieces. The Style of Mad Tinkerer is also newly added with the DLC, called: Apostle Style and you can acquire Motifs of it by doing daily Quests in the region.
Since this is a Overland Set, you can get Weapons, Shields, Armor and Jewelry. The Traits on this Armor are random, so you may have to farm in order to get the ones that you need. The Jewelry comes in Arcane, making this Set ideal for Magicka Builds. There are a few unique pieces out there as well that you can get from quests, but they aren’t any better or worse than those that drop Overland.
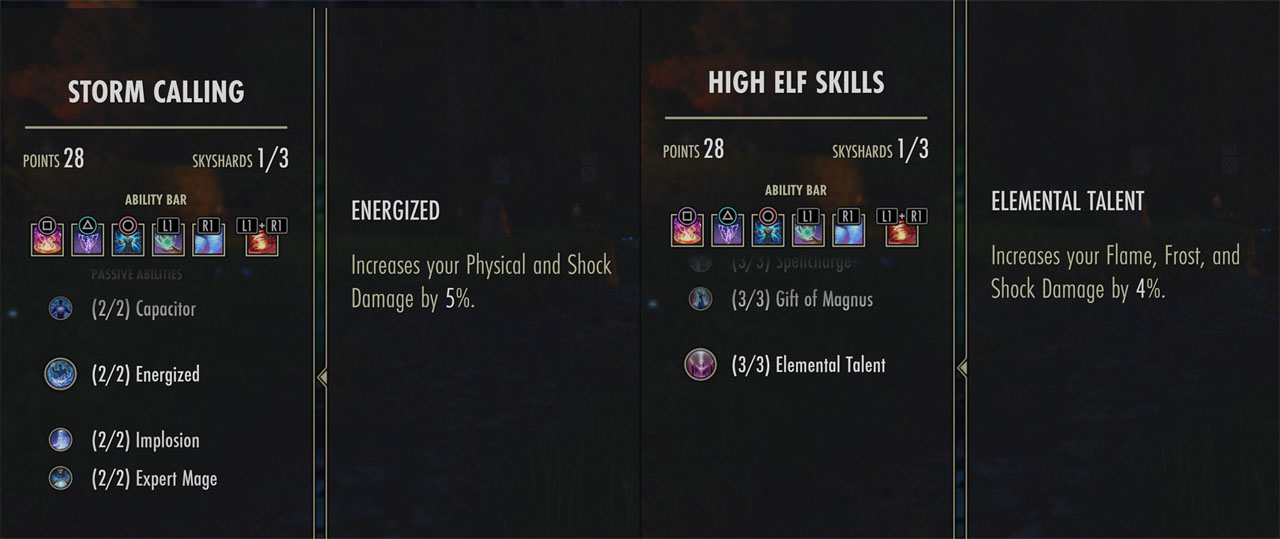
This Set does 10,000 Shock Damage at Legendary quality. If you add 100 points into Elemental Expert and 100 points into Master-at-Arms, as well as have the Energized (Sorcerer) and Elemental Talent (High Elf) then this increases to 14,898. That is a huge number! However, this Set is not as effective as you might think. Let’s take a look at why that is.

Proc Sets and How They Work
Proc Sets, or Sets that have “chance to apply some effect” called “Proccing” are becoming more popular in ESO and seemingly added every major Update (Proc is short for: Programmed Random OCcurrence). When the conditions of the Proc Set are met the effect will trigger. However, not all Proc Sets work the same way, and some apply buffs that remain on you whether you continue to wear the Set or not. Learning how to use Proc Sets effectively is extremely important for min/maxing, especially in PvP.
An important thing to note is that Proc Sets can no longer Critically Strike or Critically Heal as of Update 13 (Homestead) so as to reduce their effectiveness in Cyrodiil. In addition, many Proc Sets have cooldowns to keep them from being abused. When choosing a Proc Set to use, if you’re so inclined, you want to not only look at the effect, but how often you can apply it. Finding Sets with little or no cooldown is ideal, because it allows you to trigger them frequently. Unfortunately Mad Tinkerer has a rather lengthy cooldown, which isn’t ideal.

What You Need to Know About This Set
How this Set works is that when you deal damage you have a 10% chance to summon a Verminous Fabricant that spins in place for a second and then seeks out the nearest enemy, Stunning them and dealing damage. It doesn’t matter if it’s direct damage, damage over time, an AoE, or a Light Attack, Heavy Attack or even Proc Set. Just any sort of damage, and it doesn’t even matter if the target has a Damage Shield or not, it will still Proc. It will hit all targets on the narrow path that it follows to get there, Stunning and damaging them as well.
A couple of things to note about this Set are that it is VERY inconsistent. In my testing I found that somewhere between 25%-50% of the time the Verminous Fabricant would either spin and place doing nothing, or would simply not be able to get to its target, negating any damage or Stun, yet still putting Mad Tinkerer on cooldown. This was extremely frustrating to say the least, and seemed to occur with varying degrees of randomness.

Secondly, when used in PvP or in dueling, this Set is really really bad, due to the fact that it is very easily dodged. Because it spins in place for 1 second or so, by the time it heads towards its target, they are no longer there. This Set does not “track” the target, so once it fires it just goes in a straight line. It will not go up or down one bit and is useless when fighting from the walls of a Keep or Outpost. You must be at the same-ish elevation as your opponent for this Set to hit them and nothing can be between you.
Lastly, the few times in PvP I actually got this Set to connect with another player, the damage was so abysmal that it barely did anything. It was hitting for 1.8k against targets with Damage Shields and 3.3k against those without, which is nothing. I don’t know why this occurred because I actually had a friend spar with me (outside of Cyrodiil) so we could test it, and it still performed terribly, even against low Armor values.

Notes for PvE Players
This Set performs decently in PvE situations where there are multiple enemies to hit and they are tightly packed. This means boss fights with adds or trash pulls are where you will find it most useful. Because this Set can proc from Monster Helm Sets and other “Proc Sets”, ideally you’d use something like Grothdarr or Ilambris to help trigger this more often. Make sure you have a good amount of AoE as well, so that it always procs nearly every 10 seconds.
Having a tank in your group that can tightly pack enemies helps the efficiency of Mad Tinkerer by A LOT, so be sure to run with one who can either pull enemies (Dragonknights) or one who uses Swarm Mother to get the max effect of this Set. Also, be sure to position yourself so that you hit the most enemies in front of you in a straight line. It takes a small amount of time to get used to, but it really helps with the performance of this Set.

Notes for PvP Players
This Set performs poorly overall, but there are 2 scenarios which it can work with some effectiveness. The first is with Magicka Builds that melee, and can stay up close to their target(s), ensuring that this Set actually strikes them. Skills like Puncturing Sweep, will help to proc this Set more often, and using something like Grothdarr will help even more. People sometimes panic when you get close and put pressure, so you may get lucky now and again and they might not see the Fabricant or they may not recognize it.
The second scenario that this can work in is large group PvP, particularly where there are bottlenecks, like doorways during sieges (beneath oil) or bridge battles. Using this Set against a whole swarm of players who don’t see it coming can have great affects. Obviously this Set isn’t going to kill a whole group of players, but it can Stun many at once. If you decide this is how you wish to use the Set, you may consider playing in a more supportive role with Stuns and Heals, then just flat out DPS.
Final Tips
Remember when using this Set that it cannot Critically Strike, so to maximize the damage of it you should increase Penetration as well as Shock Damage. Sorcerers and High Elves both have increased Shock Damage, so this makes them the best choice of Race and Class when using Mad Tinkerer. Man-at-Arms will also buff this Set, as mentioned above, so be sure to put lots of points into this Champion Star as well.
This Set can be a great tool for farming large groups of enemies on the landscape to farm drops or gold. It’s proc will often all but finish off a group of enemies if you have some sort of DoT on the ground beneath them. Consider using this one when you’re doing your daily Quests or if you plan to farm for a long while.
Lastly, if you already have this Set because you were like me and thought it would be all that and a bag of chips, only to find out it wasn’t; don’t deconstruct it! You never know when Zenimax may patch the game to improve this Set and make it more powerful. For instance they may make the charge attack of the Fabricant instant, or increase the damage (or both). Few people saw the Transmutation System coming and deconstructed all kinds of rare Weapons that had terrible Traits only to regret it now. Just put it in your bank and hold onto it until a later date!
Keep an eye on this Guide because we will update it to reflect any changes made by Zenimax and stay tuned for more Build Guides coming every week and be sure to check out our other ESO Guides!
Log in to leave a Comment