In this Lies of P Build Guide, I’m going to be covering my Sawblade Slicer Build, which is a build that boasts huge range with a good attack speed while maintaining the massive damage that you can get from greatswords.
- Lies of P Build Guide – Sawblade Slicer
- Sawblade Slicer Starting Class
- What to use Before the Bone-Cutting Sawblade
- How to Obtain the Bone-Cutting Sawblade
- How to Obtain the Bramble Curved Sword Handle
- Sawblade Slicer Build – Stats
- Sawblade Slicer – Amulets
- P-Organs
- Sawblade Slicer Build – Legion Arm
- Sawblade Slicer Build – Puppet Parts
- Final Tips
Lies of P Build Guide – Sawblade Slicer
The Sawblade Slicer focuses on dealing steady stagger damage by charging a Heavy Attack from far away, and leaping towards the enemy to deal full stagger damage without the risk of getting hit during the charge up. Naturally, the charge attack itself does big damage and can be effectively used against normal enemies, and the Bone-Cutting Sawblade’s normal attack has a wide range that will kill normal enemies within your level in 2-3 hits.
The main source of damage for this build will come from the Fable Art, which the build gets its name from, Furious Slash. This Fable Art will rapidly slash and slice all enemies in an AOE in front of you 8 times, then deal a strong finishing blow that deals extra damage and stagger. This attack has massive potential damage, but it can be easily interrupted, leaving you with less Fable and not much damage dealt to the enemy. Thus, this Lies of P Build focuses on staggering the enemy and then instead of using a Fatal Attack, using this Fable Art to its maximum potential.

Sawblade Slicer Starting Class
The easiest Class to start this build with is the Path of the Cricket: Balance, as this is a balanced build. However, if you want to use the quick and agile Technique weapons or the strong and heavy Motivity weapons in the early game before you get this weapon, feel free to do so as you can put a Technique/Motivity Crank on the handle to skew it in favour of whatever you are building. You get very slight, inconsequential extra damage by sticking to one stat and using a crank rather than going balanced.
Keep in mind that you CANNOT respec the starting class stats, so if you want to min-max this build, make sure to stick with your decision.
What to use Before the Bone-Cutting Sawblade
The Booster Glaive is similar to the Sawblade in that it is a large greatsword, albeit with less range. Using this and combining it with the Puppet’s Saber Handle will make a similar, though weaker, weapon. If you didn’t choose the Balanced class, I suggest using the handle you got from your starter class instead of the Puppet’s Saber handle.

The Booster Glaive can be found in Area 3 by heading to the Workshop Union Entrance Stargazer and taking an immediate left and going down the ladder towards the Puppet of the Future, and then going to the opposite end, where there will be a chest with the Booster Glaive Blade and Booster Glaive Handle.
How to Obtain the Bone-Cutting Sawblade
You can get the Bone-Cutting Sawblade and Handle from Area 5 of the game, in the Malum District. From this Stargazer go to the staircase leading to an alleyway. Follow the natural path until you reach a Plaza with a bonfire in the center with the Black Rabbit Brotherhood Logo.

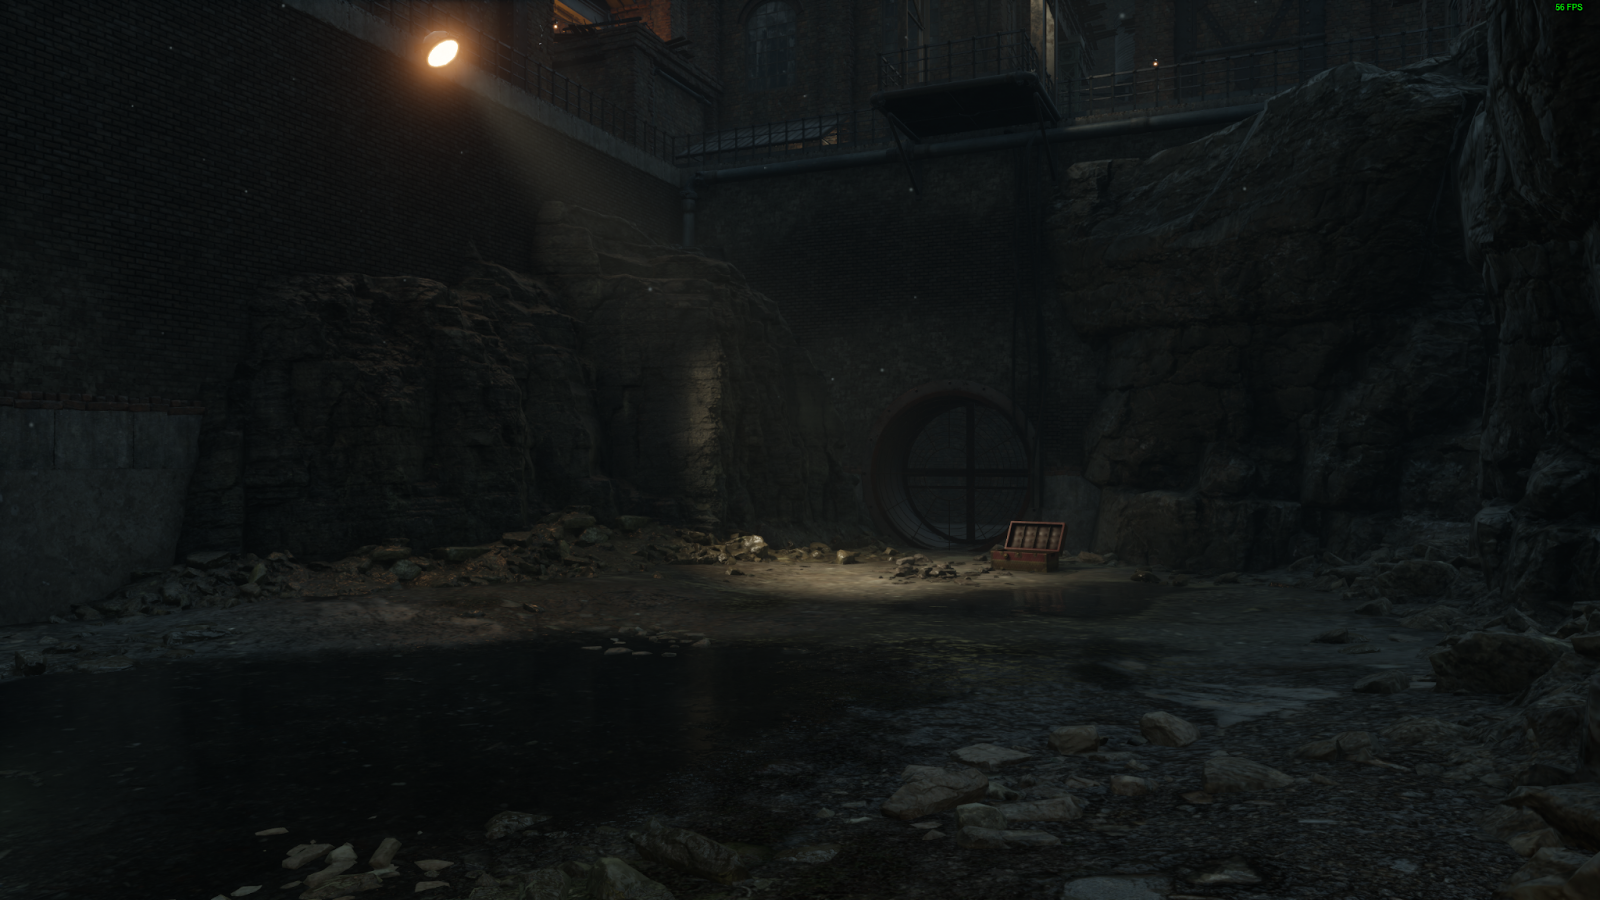
Go straight down the path on the right, and climb the ladder to reach the rooftops. From the ladder, take the left path towards the chest which contains the Sawblade.

In the image above, the Sawblade can be found in the chest on the very right, next to the burning barrel.
How to Obtain the Bramble Curved Sword Handle
You can also get the Bramble Curved Sword Handle in the same Area, in the Malum District. However, if you have not defeated the Area 5 boss before this, you must go to the Path of the Pilgrim Stargazer first in order to acquire the Smiling Bunny Mark.
From behind the Path of the Pilgrim Stargazer, there will be a few graves and a statue that will have this key item. Go there and investigate the second grave to acquire the Smiling Bunny Mark.

After you acquire this item, go back to the Malum District waypoint and enter the Red Lobster (you will need the shortcut unlocked). From the doorway, you will see an easy-to-miss ladder on your right which will lead to a Merchant.

This Merchant will only sell items to you if you have the mark or defeated the boss in this area. Once you can buy items from him, you will be able to purchase both the Bramble Curved Sword Handle for 2000 Ergo.
Sawblade Slicer Build – Stats
As with all weapons, the handle determines the scaling of the weapon. In this case the handle is that of a Sword, so it will be balanced with Scaling: Technique: C & Motivity: C. This means that it is best to level both Motivity and Technique simultaneously, unless you choose to put a Handle Crank to make it a Motivity weapon or a Technique weapon.
For other stats, you want high Vitality to stay healthy even when you are punished for mistiming attacks, a decent amount of Vigor and Capacity, and the rest spent on the offensive stat of your choice. Put no points into Advance, as it cannot work with this build.
As for the order in which you level, invest into Vitality for the first 10 levels, as the extra HP makes the game much more forgiving, and you will make mistakes while you learn the game.
Then the next 10 or so levels focused on increasing weapon damage, which will either be Motivity or Technique or both.
For the next 10 levels, level Vigor to get extra Stamina that is necessary for this Stamina hungry build.
At point in the game, you will get puppet parts that start to really weigh you down, so start pumping Capacity, to increase the amount of weight you can hold in order to keep P under 80% load in his weight stat. This is important because your normal roll becomes much slower when you pass the 80% threshold, so if you want to equip those heavy puppet parts to be tanky, level Capacity as necessary throughout your playthrough; when you can’t use the heaviest puppet parts.
From this point, you should level all of the Default Abilities equally, following these end-game stat distributions as a goal:
Level 90 Path of the Cricket: Balance
- Vitality: 36
- Vigor: 22
- Capacity: 24
- Motivity: 20
- Technique: 20
Advance: 7
Level 90 Path of the Bastard: Dexterity
- Vitality: 36
- Vigor: 22
- Capacity: 24
- Motivity: 5
- Technique: 36
Advance: 6
Level 90 Path of the Sweeper: Strength
- Vitality: 36
- Vigor: 22
- Capacity: 24
- Motivity: 36
- Technique: 5
Advance: 6
Sawblade Slicer – Amulets
For Amulets, I will first go over the basic amulets that don’t require Rare Ergo to purchase, and then get into the recommended Rare Ergo Amulets.
Basic Amulets
In the first Amulet Slot, I recommend switching between the three extra damage to enemy type amulets; these would be the Carcass Butcher’s Amulet, the Murderer Puppet’s Amulet and the Puppet Destroyer’s Amulet. Switch the amulet based on the type of boss or enemy you are predominantly fighting in your area for a very noticeable extra damage buff.
In the second Amulet Slot, a boost to your primary stat is good. So either the Strength Amulet for the Motivity Build, Technique Amulet for the Technique Build, or the Red Fox’s Amulet for the Balanced Build.

In the third Amulet Slot, the Patience Amulet is very nice, increasing Stamina Recovery speed. It allows you to engage the enemy more often as you will spend less time waiting for your Stamina to recharge, which is especially noticeable with this stamina-hungry weapon. Alternatively, later in the game I swapped this Amulet out with the Blue Guardianship Amulet.
In the last Amulet Slot, the Iron Wall amulet increases your tankiness by increasing Physical Resistance, thus making your life easier should you make mistakes. Alternatively, the Life Amulet is also OK at increasing the survivability of this build.
Special Amulets
Now, the special Amulets that work best with this build are: the Arm of God Amulet, Awakened Gods Amulet, and the Extreme Modification Amulet.

Arm of God will increase weapon damage after landing any successful hit, which pairs fantastically with the rapidly slashing Furious Slash.
The Awakened God’s Amulet is quite late into the game, but also increases damage a lot by improving the damage of Fable Arts while an enemy is staggered. The whole strategy of this build is to stagger and use Furious Slash, so this pairs perfectly.

Lastly, the Extreme Modification Amulet will increase your damage based on how many Fable Slots you have charged. This is useful as you wont really be using your Furious Slash until you stagger, so you can put that unused Fable Charge to use with this amulet.
Keep in mind that if you equip the heaviest puppet parts in the game, you will need to use the Carriers Amulet which increases weight in order to use any of the special amulets without moving into the heavy status which will make your rolls very slow.
P-Organs
The best P-Organ Synergy Effects for this build are the following:
- Increase Pulse Cells – Survivability and sustain against Bosses/Areas
- Link Dodge – Be able to dodge farther away from wide AOE attacks
- Add Amulet Slots – Equip more Powerful Amulets which can increase damage, improve survivability and provide special effects.
- Enhance Pulse Cell Recovery – Survivability and sustain against Bosses/Areas
- Increase Staggerable Window – Increase the stagger time to pull of the full Furious Slash combo against bosses who have a very short Stagger time
- Add Fable Slots – Use Furious Slash more often
For the individual effects you get from spending 1 Quartz:
Attack Type
- Any of the Synergy Effects
- Enhance Charge Stagger ATK – Get more stagger damage to use your Fable Art more frequently
- Enhance Fable Arts ATK – Make Furious Slash deal even more damage
Survival Type
- Any of the Synergy Effects
- Lower Damage While Dodging – If you fail a dodge, you are forgiven with slight damage reduction
- Perfect Guard Guard Regain Recovery (NOT A TYPO) – When you are being pushed back by relentless attacks, Perfect Guard will be able to heal any damage that you take making you less prone to burst deaths
Ability Type
- Any of the Synergy Effects
- Lower Charge Attack Stamina Consumption – Lower the stamina consumption so it can be used more often and thus stagger more often
- Perfect Guard Fable Charge Enhance – Make Perfect Guards charge Furious Slash faster so that we are more likely to have it up when we stagger
- Reduce Stamina Consumption from Dash – When you need to disengage from a boss, or get behind it, use less stamina so that you can fit in more attacks
- Charge Fable when Reviving – Whenever you respawn from dying to a boss, you have Fable to use Furious Slash
- Auto Charge Legion – Auto Charge so that we don’t need to expend Legion Magazines as often, which would leave us vulnerable
- Special Grindstone Weapon Durability Recovery – If you run out of durability mid-combat, use the Grindstone to not only get a special effect on your weapon, but completely replenish the durability instantly
Item Type
- Any of the Synergy Effects
- Charge Fable upon Pulse Cell Use – Use Furious Slash more often
You will have extra Quartz even after getting all of this, but I don’t feel as if any of the other synergy effects will be as impactful. As such, I suggest getting the Synergy Effects that best fit your playstyle, such as whether you use consumables on your belt a lot or rely on your Wishstone, in which case you would get the corresponding P-Organ upgrades. I personally went for the upgrade Special Grindstone Uses.
Sawblade Slicer Build – Legion Arm
Legion Arms that I found work best with this build are the max-upgraded Puppet String to get a free charged attack and stagger and Falcon-Eyes to get damage while you back off and regenerate Stamina.
Other Legion Arms can work, so don’t feel limited to these options and experiment with what you enjoy the most!

Sawblade Slicer Build – Puppet Parts
In this build, I always used the highest-weight puppet part I found, which made me extremely tanky by the end of the game. I kept my equipment weight down using the Carrier’s Amulet when needed and leveling Capacity, allowing me to equip these heavy parts without passing the weight threshold.
Final Tips
The Special Grindstone felt amazing to use in this build, dealing great damage when I used the Flame Grindstone to add Fire Damage to my attacks. Later on, when you can get the Destruction Grindstone, it really helps against Bosses by speeding up the Stagger Damage. Whenever I was in a tough spot against a Miniboss, the Special Grindstone always helped me out tons!

Sometimes, there will actually be opportunities for you to use Furious Slash without having to stagger the Boss. It’s hard to notice these moments, and they are a gamble, but when you do succeed you usually stagger the boss with the stagger damage from the final attack of the combo, meaning you get a free Fatal Attack on top of the damage already inflicted from Furious Slash.
Lastly, if you use Specters, I recommend prioritising Wishstones that extend its life rather than damage so that you have more opportunities to use Furious Slash and charge attack stagger the Boss while it targets the Spectre instead of you.
Look out for more Lies of P guides and our Beginner Guide. Head to our Lies of P wiki for all the latest on Weapons, Fable Arts, Accessories, Crafting and more.
Log in to leave a Comment