In this Sekiro Article I’m going to be ranking all 10 of Sekiro’s Prosthetic Tools, and comparing just what makes each one so good (or not). Recently I made Guides for each of the Prosthetic Tools, and learned a lot about each one, as well as became extremely familiar with them. On top of that I did runs of Sekiro where I did not use R1 to attack, so I really had to lean on Prosthetic Tools in order to succeed. So, which one is the best? Read on to find out!
Ranking the Prosthetic Tools in Sekiro
Ranking all Prosthetic Tools in Sekiro is not a small feat. There are many things to factor in including Spirit Emblem Cost, Prosthetic Skills, what enemies and Bosses they work against and what their best versions are. Keeping those things in mind we’ll begin with the Tool I found to be the least useful overall…the Loaded Spear.
10. Loaded Spear
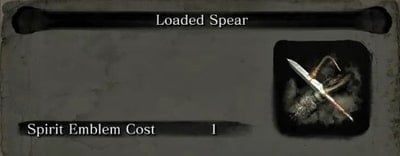
- Spirit Emblem Cost: 1/2
- Prosthetic Skill: Chasing Slice & Fang and Blade
- Best Version: Spiral Spear
- Biggest Pro: Very cost effective in terms of Spirit Emblems and can pierce enemies’ defenses
- Biggest Con: Absolutely no poise, and damage isn’t much higher than a regular R1 attack
The Loaded Spear comes in at the number 10 spot because it isn’t as useful as it could be. The rather long wind-up animation can be easily interrupted by enemies, and you don’t get much pay off for it unless you are using the Spiral Spear or the Leaping Flame. Still, you can use Chasing Slice to great effect against enemies that jump backward often, and it does improve your reach. This Tool definitely has its uses, but those are quickly replaced by other Tools that do the job better. If the damage were increased this would be higher up on the list.
9. Sabimaru
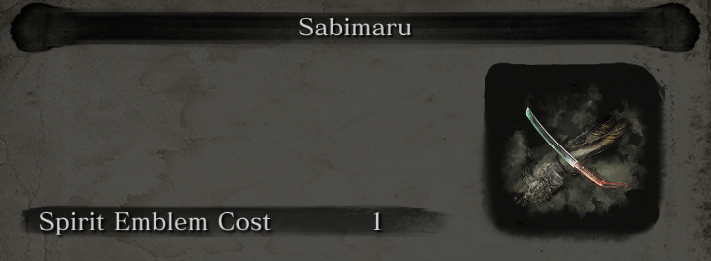
- Spirit Emblem Cost: 3 (per combo chain)
- Prosthetic Skill: None
- Best Version: Piercing Sabimaru
- Biggest Pro: Very effective against enemies weak to the Poison Status Abnormality, can pierce enemies’ defenses
- Biggest Con: Costs a lot of Spirit Emblems for similar damage of the Kusabimaru when used against enemies not weak to the Abnormality
The Sabimaru is extremely effective against a few enemies in the game, and some of them are very very annoying. Unfortunately 2 of these are optional, and that’s about all that the Sabimaru is good for, so it comes in at the number 9 spot. It can be effective against more aggressive enemies, like the Lone Shadows, but some of these are Poison resistant. This makes the Sabimaru lose out against the Loaded Axe or even the Flame Vent, because they are more effective in general. If this Tool costed less Spirit Emblems it would be higher up on the list.
8. Divine Abduction
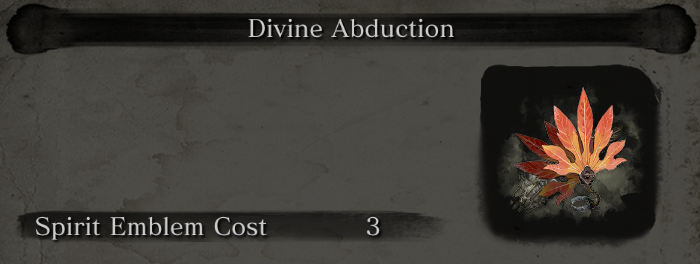
- Spirit Emblem Cost: 3/4
- Prosthetic Skill: Living Force
- Best Version: Golden Vortex
- Biggest Pro: Can be used to farm enemies quickly, and take down some of the more annoying enemies with ease
- Biggest Con: Costs a lot of Spirit Emblems, and isn’t overly useful in Boss and Mini-Boss fights
At number 8 is Divine Abduction, and it’s listed here because just about everyone will have to farm Materials or Gold at some point or other, and Divine Abduction is fantastic for this. It makes something that is already tedious go much faster, not only in terms of kill speed, but also drops. Golden Vortex for all intents and purposes, doubles the drops you’ll get, really helping you get the Materials you need faster. Get this Tool and learn to use it in new areas, to get you out of jams when you need a quick kill, and for farming when you need Materials.
7. Finger Whistle
- Spirit Emblem Cost: 3
- Prosthetic Skill: Projected Force
- Best Version: Malcontent
- Biggest Pro: Can be used to stun some of the most difficult enemies in the game for extended durations
- Biggest Con: Costs a lot of Spirit Emblems, and isn’t overly useful until you gain Malcontent
The Finger Whistle comes in at number 7, and would probably be much lower on the list if it weren’t for the fact that it excels in some of the toughest fights in Sekiro. Malcontent can help you make short work of Headless and Demon of Hatred, both of which are a pain in the ass. Players often need all the help they can get when it comes to these two enemies, and the Malcontent delivers here where it matters most. Otherwise this Tool is utterly forgetful, particularly for the Spirit Emblem cost.
6. Mist Raven
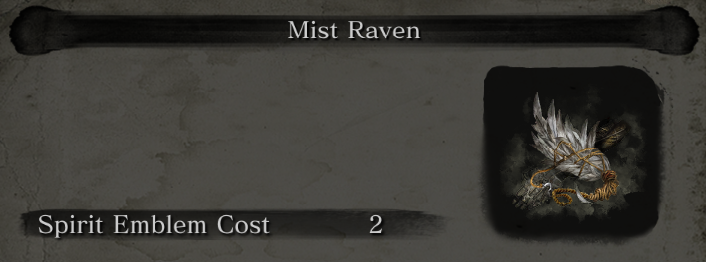
- Spirit Emblem Cost: 2/3
- Prosthetic Skill: Fang and Blade
- Best Version: Great Feather Mist Raven
- Biggest Pro: Can dodge even the most devastating attacks, while dealing damage and setting you up for a counter attack
- Biggest Con: Costs a lot of Spirit Emblems, and can’t be used at will without using a consumable
Mist Raven comes in at number 6 and is extremely effective at dodging attacking and dealing damage in return. It is particularly great against many enemies where you might otherwise be stun-locked to death, and works well against opponents that are very aggressive. The best version of this Tool costs 3 Spirit Emblems or this Tool would come in even higher. The Mist Raven is extremely effective, but being able to use it only 5-8 times a fight makes it much less efficient than it could be over the course of a whole Boss fight. Additionally, waiting until you are struck uses up a lot of time that you could be behind an enemy striking them mid animation, and Contact Medicine can only be used 3x before resting.
5. Loaded Axe

- Spirit Emblem Cost: 2
- Prosthetic Skill: Fang and Blade
- Best Version: Sparking Axe
- Biggest Pro: Can kill Mini-Bosses with the “spin to win” strategy, trivializing many of them, and has a good amount of poise when attacking
- Biggest Con: Has a long wind-up time that often results in you taking damage
The Loaded Axe comes in at number 5 and is a Mini-Boss killer. It can wipe out an entire Vitality bar off a Mini-Boss without doing more than pressing R2, which is a bit silly to say the least. However, this “trick” doesn’t translate well to actual Boss fights, or else this Tool would be much higher on the list. It does have it’s uses in these fights however, and works very well when in the air, and can set the Burning Status Abnormality. It’s an all around great Tool for stun-locking enemies.
4. Shinobi Firecracker

- Spirit Emblem Cost: 2
- Prosthetic Skill: Chasing Slice
- Best Version: Long Spark
- Biggest Pro: Can interrupt most enemies and Bosses repeatedly, making for some easy kills
- Biggest Con: It does almost no damage and the 2 Spirit Emblem cost is quite a lot for what you get
The Shinboi Firecracker is another Tool that has extraordinary versatility, or rather effectiveness I should say, putting it squarely in 4th place. You can cheese entire Vitality bars off of Bosses and Mini-Bosses by using it, and it can protect you from some of the most devastating attacks in the game. Out of all Tools, this one can increase your chances of beating Bosses the most. However, it requires proper timing, and can’t beat a Boss all by itself, or it would be higher on the list. Still if you need to wipe out a Boss phase quickly, this may very well be one of the easiest ways to do it.
3. Loaded Shuriken
- Spirit Emblem Cost: 1/2
- Prosthetic Skill: Chasing Slice
- Best Version: Lazulite Shuriken
- Biggest Pro: Extremely versatile and can setup Chasing Slice, which has excellent range and damage
- Biggest Con: The damage itself from this Tool is the weakest of all, making it less useful than it could be
The Loaded Shuriken comes in third because it is easy to use, and because it has so much versatility. Many areas of the game are made easier by picking off enemies that are grouped together, one by one, and this is one of few Tools that can assist with this. Additionally, when combined with Chasing Slice, it becomes much more powerful and gives you much longer range with Kusabimaru. Many enemies in the game jump backwards, and Chasing Slice can help you punish them for doing so, where you might otherwise take damage. This Tool also gets points for being straight forward, allowing for anyone to understand just how to use it.
2. Flame Vent
- Spirit Emblem Cost: 3
- Prosthetic Skill: Living Force
- Best Version: Okinaga’s Flame Vent
- Biggest Pro: Can set the Burning Status Abnormality, dealing damage and preventing Posture from regenerating
- Biggest Con: Has a high Spirit Emblem cost, and sometimes takes more than one blast to set this Abnormality
I’ve put the Flame Vent at number 2 because it is the most useful in Boss fights, where things like “spinning to win” with the Loaded Axe aren’t overly useful. There are also several Bosses that have fast Posture regeneration, and this Tool can make quick work of them by preventing this, particularly because their Posture Gauge fills quickly from Deflecting.
Living Force might very well be the best Prosthetic Tool skill, allowing you to coat your blade in Fire or Spectral Fire, both of which absolutely wreck enemies. This makes fights like Guardian Ape, Headless or Shichimen Warrior very easy, and you don’t even need Divine Confetti. Since these are some of the most pain in the ass fights in the game, this is a huge “pro”. In short, you can use this Tool in just about any Boss/Mini-boss fight to great effect.
1. Loaded Umbrella
- Spirit Emblem Cost: 1
- Prosthetic Skill: Projected Force
- Best Version: Suzaku’s Lotus Umbrella / Phoenix’s Lilac Umbrella
- Biggest Pro: Useful in many different Boss and Mini-boss Fights
- Biggest Con: Not overly useful until you gain Projected Force and Loaded Umbrella – Magnet
The Loaded Umbrella takes the number 1 spot because of its versatility and effectiveness in so many different scenarios. It can protect you from Thrust/Grab Perilous Attacks, it reduces the Posture Damage you take when Blocking, and it allows for much easier Deflections against successive hits. And, on top of all that, it can be used as a deadly weapon once you acquire Projected Force.
Did I mention that it can shoot projectiles? You get all of this for the lowly cost of 1 Spirit Emblem. But wait! There’s more! Later versions can protect you from Terror and Fire, while also coating Kusabimaru for one strike, allowing you to deal even more damage. Win! Once you learn to use this Tool you will take it literally everywhere.
Stay tuned for more Sekiro Content as we rank all Prosthetic Tools and move on to Guides covering the Combat Arts. And as always, be sure to check out our Boss and Beginner Guides if you need more help with the game!

Log in to leave a Comment