
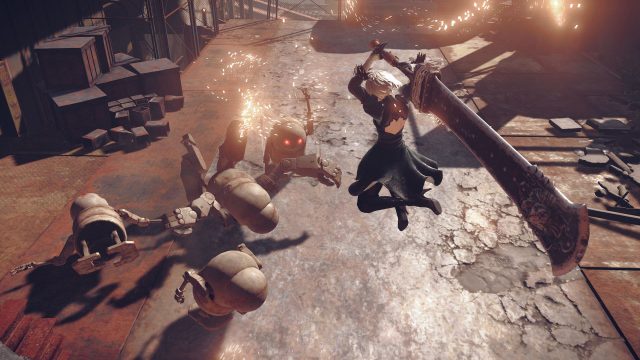
Nier: Automata is a delightful action RPG game that mixes the creative genius of Yoko Taro with the masterful combat of Platinum Games. The result is a game that seems simple on the surface, but will reveal depth and secrets as the player marches on. The game launches today PS4 in NA, the 10th in EU and next week, the 17th, on PC.
This guide is intended as a spoiler-freeish aid on how to make your playthrough efficient and fun. Check out the launch day trailer and read on for beginner’s tips.
Nier: Automata Beginner’s Guide
1. The game doesn’t end, it expands – so don’t worry about cramming every sidequest in as you find them.
My first playthrough would have been SO much shorter if I had known that, after a certain point, access points will allow me to travel everywhere I had discovered. Also, if you commit enough time, you will eventually unlock “Chapter Select” and can play any Main Story Quest and associated Side Quests you have missed. So, when you accidentally fail a quest because you progress the story – don’t fret!
2. Save. Save. SAVE!
Access Points are very important to your progress through the game, so save often. There are some crashes and bugs such as NPCs not showing up, and you don’t want to be a victim of the game’s lack of auto-save.
3. Increase your POD affinity & other Secrets
The game does not tell you this, but you can rub your Dualshock 4’s touchpad to increase pod affinity. There are also a slew of other Secrets, such as locked chests and doors, that you can discover throughout your playthroughs. There are also combat details that are left out of common explanation, such as pressing and holding square for a heavier attack, or charging your Pod attacks by holding down L1. Check out the Secrets and Combat pages on the wiki for details
4. Double Jump, Dash Jump & Glide
You can perform longer jumps by using an evade after your first jump and then jumping again. This allows you to reach seemingly inaccessible locations. There are also a set of attacks you can do to cover even larger distances. For those impossible-to-reach chests: Hold X (jump) before you get off the platform, press R2 to dash off, then square (You will do a round kick with your pod). Now let go of X and press X+Square for an upwards attack, keep X pressed and press square again for roundkick, then if you still aren’t there press X + r1 and your pod will launch you.
You can also press and hold your jump button (default X) to glide using your pod and avoid all fall damage.
5. Put your G to good use
Don’t bother buying materials or chips at the start, save your cash and buy Upgrade Storage from the Maintenance Shop. The more space you have on your chip configuration, the best loadouts you can make. You can also swap them on-the-fly mid combat, and create different ones for different objectives such as material farming, speedrunning, or leveling up fast.
6. Customize your Plug-in Chips & Pod Programs
You will find many plug-in chips and have to chose from them. Match the effect to your selected Weapon type, and make sure you add “extras” such as Auto-use Item and Anti Chain Damage. For some specific side quests, you may want to use Movement Speed Up and the program A110: Slow.
7. Fusing Chips is an Art
You have the option of fusing chips at the maintenance shop. Your ideal chip will be +6 with the least amount of slots used. To achieve this, sell any chips that don’t have a little diamond shape next to them that you aren’t using, and focus on fusing only diamond + diamond. This will give you lots of G and avoid you making any mistakes when fusing.
8. Difficulty settings have no effect on story or trophies
The game is best enjoyed in the Normal setting, but if you’re having trouble or want the combat to go faster on subsequent playthroughs while trophy hunting, you can turn things down to easy. You then have the option to equip the auto-chips, although I don’t recommend it. Simply reducing enemy health and damage should be enough to make things go faster without turning the game into an interactive directional presser.
9. Inventory Management is a thing
You will soon fill out on Copper Ore, so make sure to sell it when you near 80, but inventory can also fill on plug-in chips and the like. Make sure you profit off your findings as much as you can. You can also sell all the fish and “valuables” you find such as broken earrings, but keep a Mackerel and any Desert Roses you find to use on quests.
10. Explore! Your minimap is your friend
Find and equip HUD: Items chips as soon as you can. You will begin seeing all nearby items and chests on your mini-map, allowing you to see things you may otherwise miss. There are obscure pathways and jumps that take you to new loot and important secret NPCs.
In addition to its fantastic combat and action, Nier: Automata is a quirky and delightful game that will work its way into your gaming heart. It features a lot of hidden elements and oddities that are reminiscent of the old school games that were infused with personality. Multiple endings and surprising mechanics will keep you coming back for a long time. When you’ve got your feet wet, be sure to visit the wiki and check out some more of these deeper gameplay features like weapons, items, plug-in chips and full walkthroughs of quests. Happy playing!
Visit the Nier: Automata Wiki
More on Nier: Automata
2 responses to “Nier: Automata Beginner’s Guide – How To Get Started”
LMAO those where the times!
The depth of mechanics is certainly very entertaining – shows the Platinum Games touch.
Hold X, R2, Release X, X+Square, Keep Hold X and repress Square, X+R1
What is this? A Mortal Kombat fatality? Heh, I feel like I need to be an android to remember all the little things in this game. I love it!
Log in to leave a Comment